Showing posts with label hexagons. Show all posts

Sunday, March 3, 2013

ONE NEW THING WEEK 10!

Well...I finally felt brave enough to tackle my Y-seams!  I have to say...I was pleasantly surprised!  I really had no trouble. Yes, they are a little finicky and you really have to pay attention - it's easy to line up the hexies incorrectly.  And believe me, you don't want to have to pick these apart.  About halfway through I realized my machine was having some tension issues. I had to pick out an entire row and as I had used smaller stitches I nearly went blind. (Note to self:  Check tension on underside when sewing hexagons.) Anyway, aside from being a little tedious, it's not an unpleasant process. 
 

I think maybe next time I'll cut them bigger - each row took half an hour to sew together! Or perhaps a doll quilt!!! I used the tutorial found here. The only thing I did different was not press my seams open when joining the hexies in a row.  The seams just get in the way when they are pressed open.  Anyway, that's what worked for me! Overall, I say WHY NOT! to Y-seams!
 
Also, I've been having fun making these...

 
I just love these little mini granny squares!  I use the method found here. Mine finish at 6 1/4 inches.  I think they are so sweet and I can't wait to finish these and get this quilt put together. I think it's going to be one of my favourites! Now that my brand-new sewing room is almost complete, I'm hoping that my productivity will increase!  I'm not quite ready to show you some pictures, but it's coming together almost exactly how I planned.  It's so nice having a dedicated room for my sewing.  No more searching for fabric, buying duplicate fabric (not such a bad thing), etc.!


Sunday, February 17, 2013

ONE NEW THING WEEK 8

Hexagons! (And a Mini-Tutorial) I've been wanting for ages to make a hexagon quilt but wasn't in love with the idea of sewing them together by hand.  I found a tutorial for Y-seams (eek!) and set about learning how to cut hexagons without a template!
 

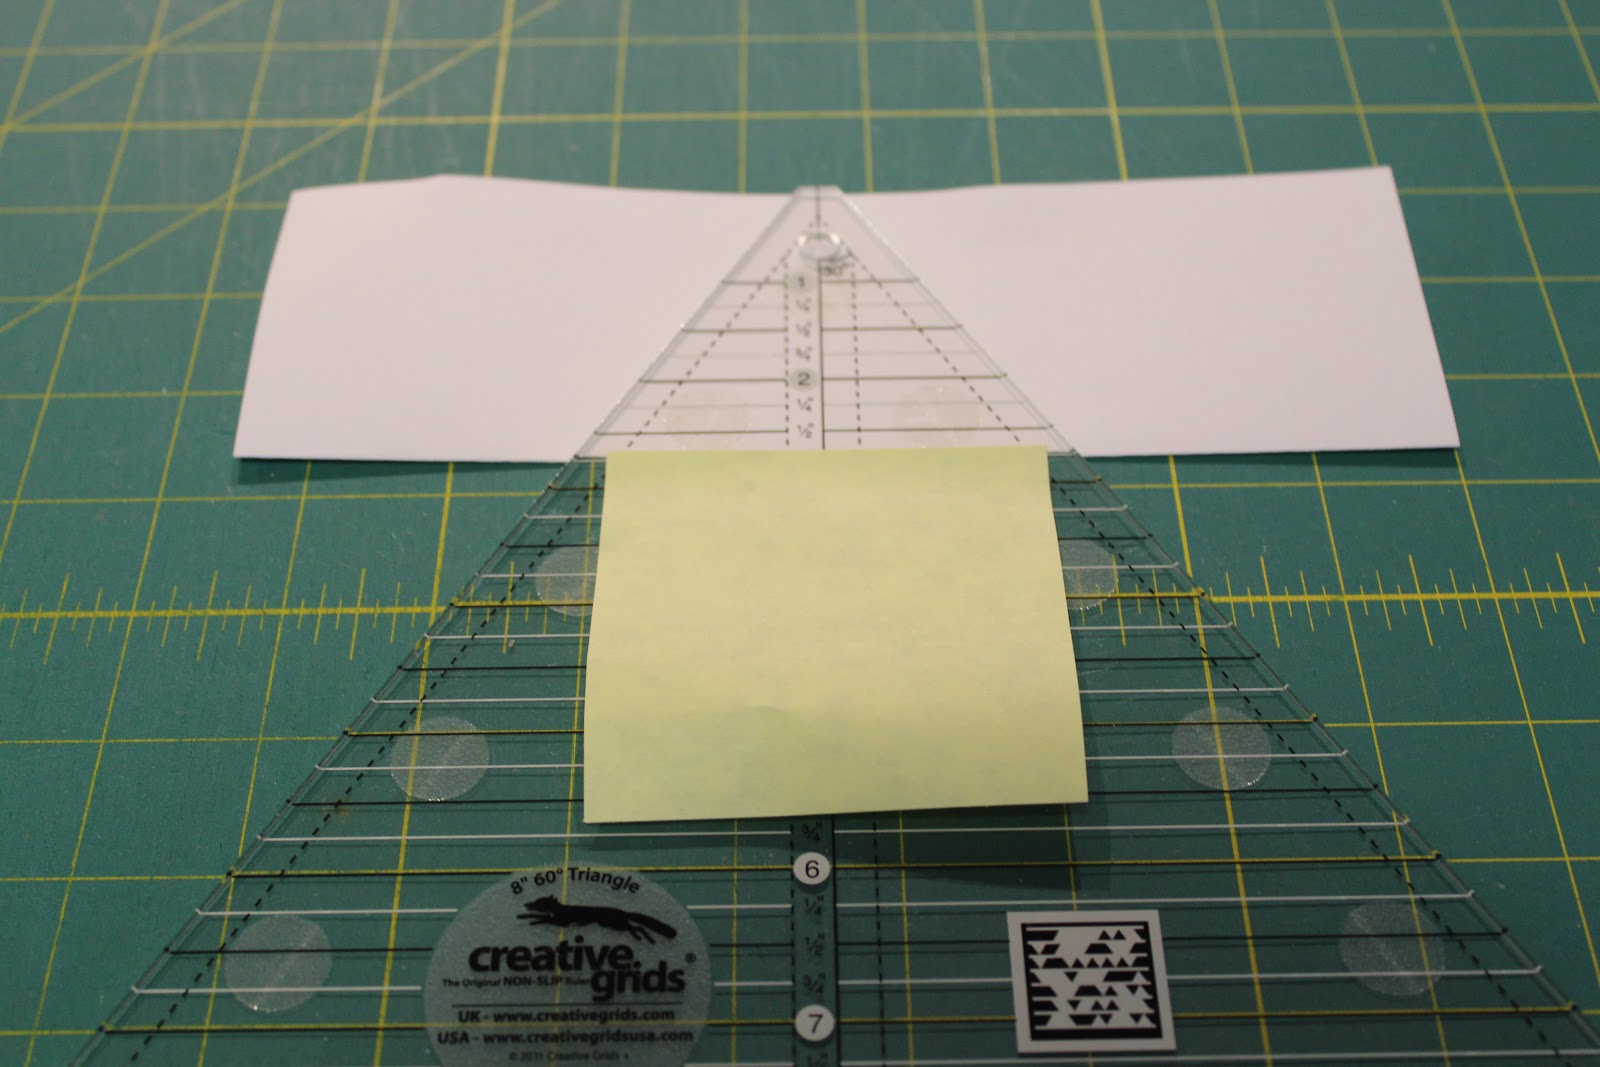
Yes, this one is made out of paper.  I wanted to make sure I was doing it correctly before I cut into my precious fabric.  I found a tutorial that shows how to cut hexagons with a 60 degree ruler! First, I cut a piece of paper 5 1/2 inches and folded it in half lengthwise.  

 
Keeping the fold at the bottom,  I lined up my 60 degree ruler with the point at the top and placed a sticky note along the bottom edge at 2 3/4 inches... 
 
 
Because the top of my ruler is flat, I realized after cutting zillions a few hexagons that I had to actually move my sticky note up 1/4 inch to the 2 1/2 inch line. The ones I cut before I did this had uneven sides.  All sides of the hexagon should be the same - in this case 3 1/4 inches.  Here's what it looks like after cutting both edges...
 
 
Open it up...and voila!
 
 
Hope this is clear. If not, email me and I'll try to explain it better. There are definitely better tutorials out there, but I thought I would show you the method I used.  I managed to get most of my 'fabric' hexagons cut this afternoon. I pulled out my vintage repro fabrics, which I haven't used for ages.  I have an on and off love affair with these fabrics (mostly on)! They are so cute and it's no secret I love anything vintagey! I also found some blocks I made a few years ago and had completely forgotten about! Oops!  Anyway, here's my nice little stack of perfectly (I hope) cut hexagons.
 
 
All I need to do now is master those dreaded Y-seams!  Wish me luck!